|
Three
modes: |
|
Normal
- |
Spectral Colors (The visible spectrum) |
IR
- |
Infrared
(Wavelengths of about 1 mm to 750 nm) |
Full
- |
Electromagnetic
Spectrum (Unfiltered) |
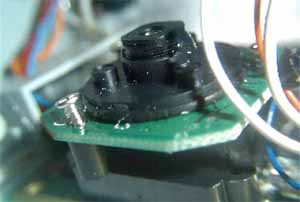
It is not absolutely necessary to remove the "eye" PCB. Doing so
makes it easier to work with.
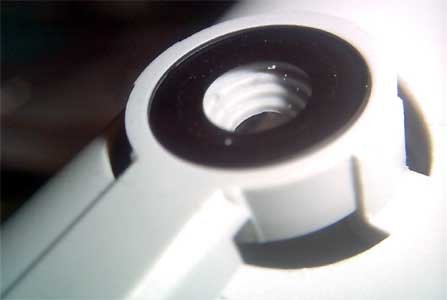
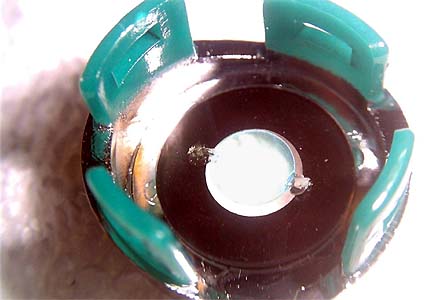
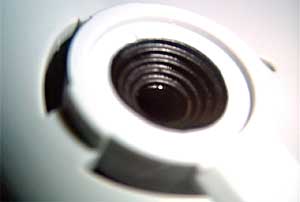
Before the lens can be unscrewed, the hardened glue needs to be scraped away.
An exacto knife works well for this task.
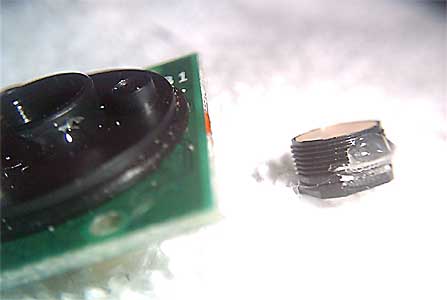
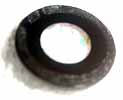
Once unscrewed, the infrared blocking filter element can be removed. This
will likely take some work. Part of the plastic housing may need to be removed
in order to extract the filter.
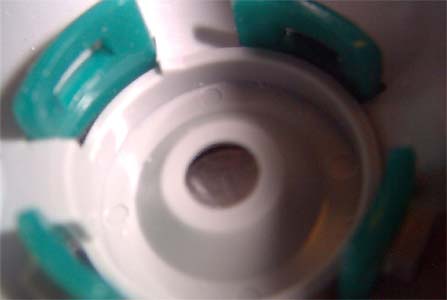
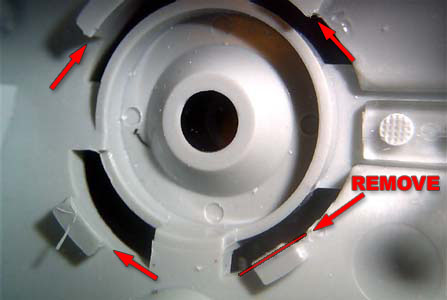
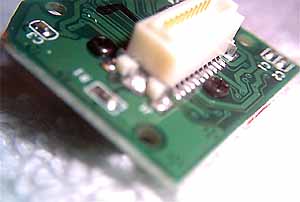
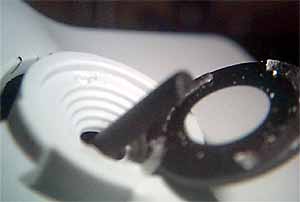
Removing the lens shielding is accomplished by pulling back the plastic tabs
found on the main case, then working the shielding tabs out through the 4
openings on the main case. Do not attempt to bend the green tabs of the shielding.
They are very brittle. Once the shielding has been removed, cut or file the
inner portion of the white case tabs to remove the locking wedges. This will
prevent the shielding tabs from snapping/locking to the main case. With the
locking tabs removed, the shielding component will become detachable, yet
fit snugly in place when attached.
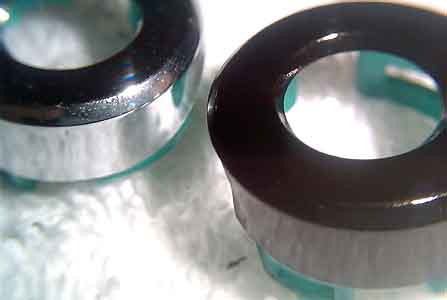
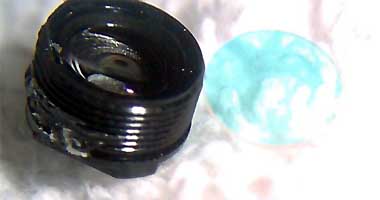
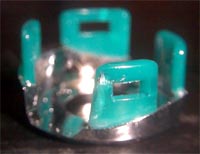
After removing the lens shielding, the plastic disk is exposed and can be
removed by simply applying pressure. The glue which holds the disk in place
is not very strong. Use a blunt object that will not scratch the plastic disk,
such as a pen cap.

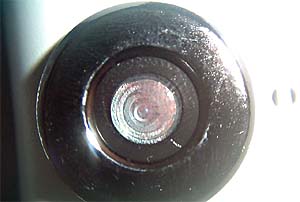
The disk is then fastened to the lens shielding. The filter element is positioned on the camera side of the disk, allowing the disk to protect the filter.
Use this lens for NORMAL mode.
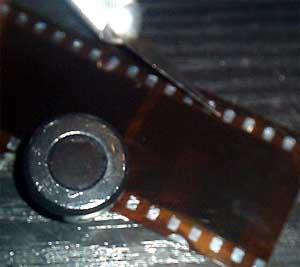
I repeated the last step substituting the IR filter with black film negatives.
Infrared light passes through film negatives regardless of how dark the film
may appear to the unaided eye. At the same time, dark portions of film negatives
block light rays which create spectral colors. Therefore, film negatives can
be used as an exclusive IR pass filter. Click here
for a video demonstration of this phenomenon.
Use this lens for IR mode.
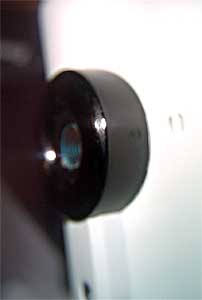
I used this opportunity to paint the "eye" portion of the main case.
The results are mostly cosmetic. However, it does help keep light from bouncing
around near the lens. A flat paint is preferred over what I had handy.
FULL mode is accomplished by using your camera without either lens attached.
Videos:
Unlike visible light, IR light does not cause ones iris to
change. In a dark environment, the eye can become exposed to large amounts
of IR light without any pupil constriction, which leaves the retina exposed.
It is unknown weather or not IR light is harmful to the human eye.
The light from night vision cameras is visible in FULL and
IR mode.
This demonstrates how colors appear while recording in different
modes.
Since monitors and televisions do not produce infrared light,
they appear to be turned off while viewing infrared light exclusively.
Some dyes/inks allow infrared light to pass through them.
The only light in this video is IR. To the human eye, this
appeared to be completely dark. This technique is the essence of "night
vision".
This demonstrates how a twenty dollar bill appears under different
modes. Notice, a vertical band of ink is invisible in IR mode.
As mentioned above, film negatives allow IR light to pass through,
making the film transparent.
The read-side of popular "Black" CD-R's, do not block
IR light. This allows IR rays to pass through the filtered plastic and reflect
off of the actual metal, making them appear as normal compact disks.
The normally invisible IR light emitted by IR communication
devices, such as those found on television remote controls and computer (usually
laptops) IR ports is visible to the camera while the IR blocking filter is
removed.
Recording video in the absence of a camera's IR blocking filter usually results
in bright, colorless images. However, the image on this LCD monitor appears
to be sharper with improved saturation when viewed without the IR blocking
filter. Since monitors/televisions do not produce IR light, the camera's image
sensor is not overexposed while receiving all possible light. Therefore the
image does not appear to be washed out and is actually enhanced.
Full mode is especially good for poorly lit environments. This
allows the camera to be used in situations where the resulting footage would
normally be too dark. This, of course, comes with the sacrifice of color saturation.
